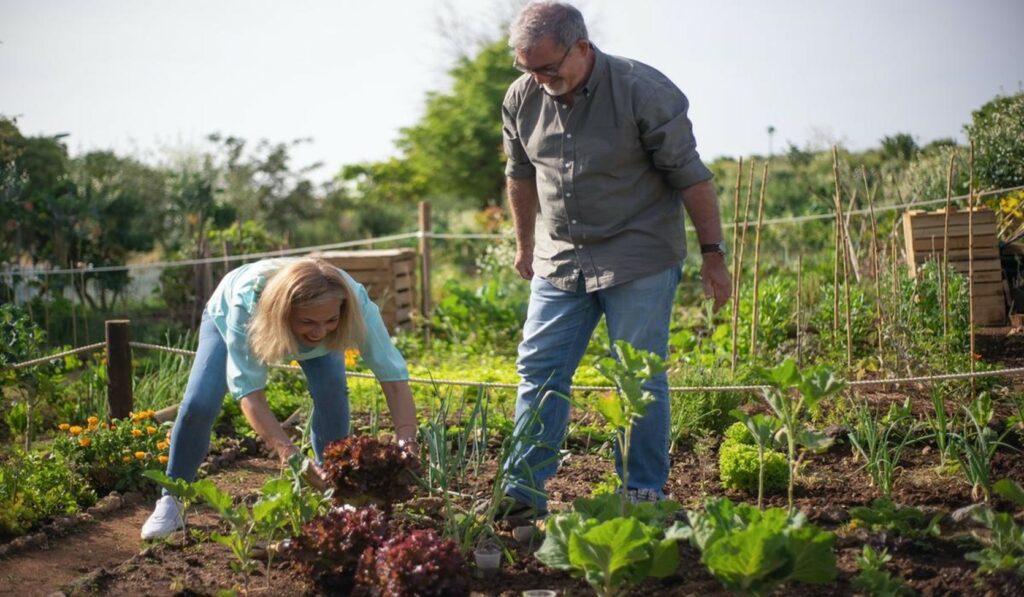
Building your first garden doesn’t have to be complicated. Whether it’s for your own supply of fresh, organic produce or an outdoor paradise to help improve your well-being, you can make it happen by following small, comprehensive steps.
Like most gardeners, I created my first garden as a novice. I remember enjoying the process very much because I did it at my own pace. In this guide, I’ll walk you through each essential step to building a garden for the first time, including choosing the best month to start a garden, deciding what to plant, preparing the soil, and designing your garden.
-
Choose the Best Month to Start a Garden
Before you start digging, it’s important to choose the right time of year to begin your gardening journey. In general, the best time to start a garden is in the spring, after the danger of frost has passed. This allows you to take advantage of the longer growing season and warmer temperatures. However, you can also start a garden in the fall or even winter if you live in a milder climate.
Depending on where you live, spring may not be the best time for planting certain crops. For example, if you live in an area with hot summers, planting cool-season crops such as lettuce, peas, and spinach in the spring may not be a good idea as they’ll bolt or go to seed quickly. Instead, it might be better to wait until the fall when the weather cools down a bit.
If you live in a region with a short growing season, you’ll want to start your garden as early as possible to ensure that you have enough time to grow and harvest your crops before the first frost. On the other hand, if you live in a region with a longer growing season, you may be able to start your garden later in the year. Generally, the farther you are from the equator, the shorter your growing season.
-
Decide What to Plant
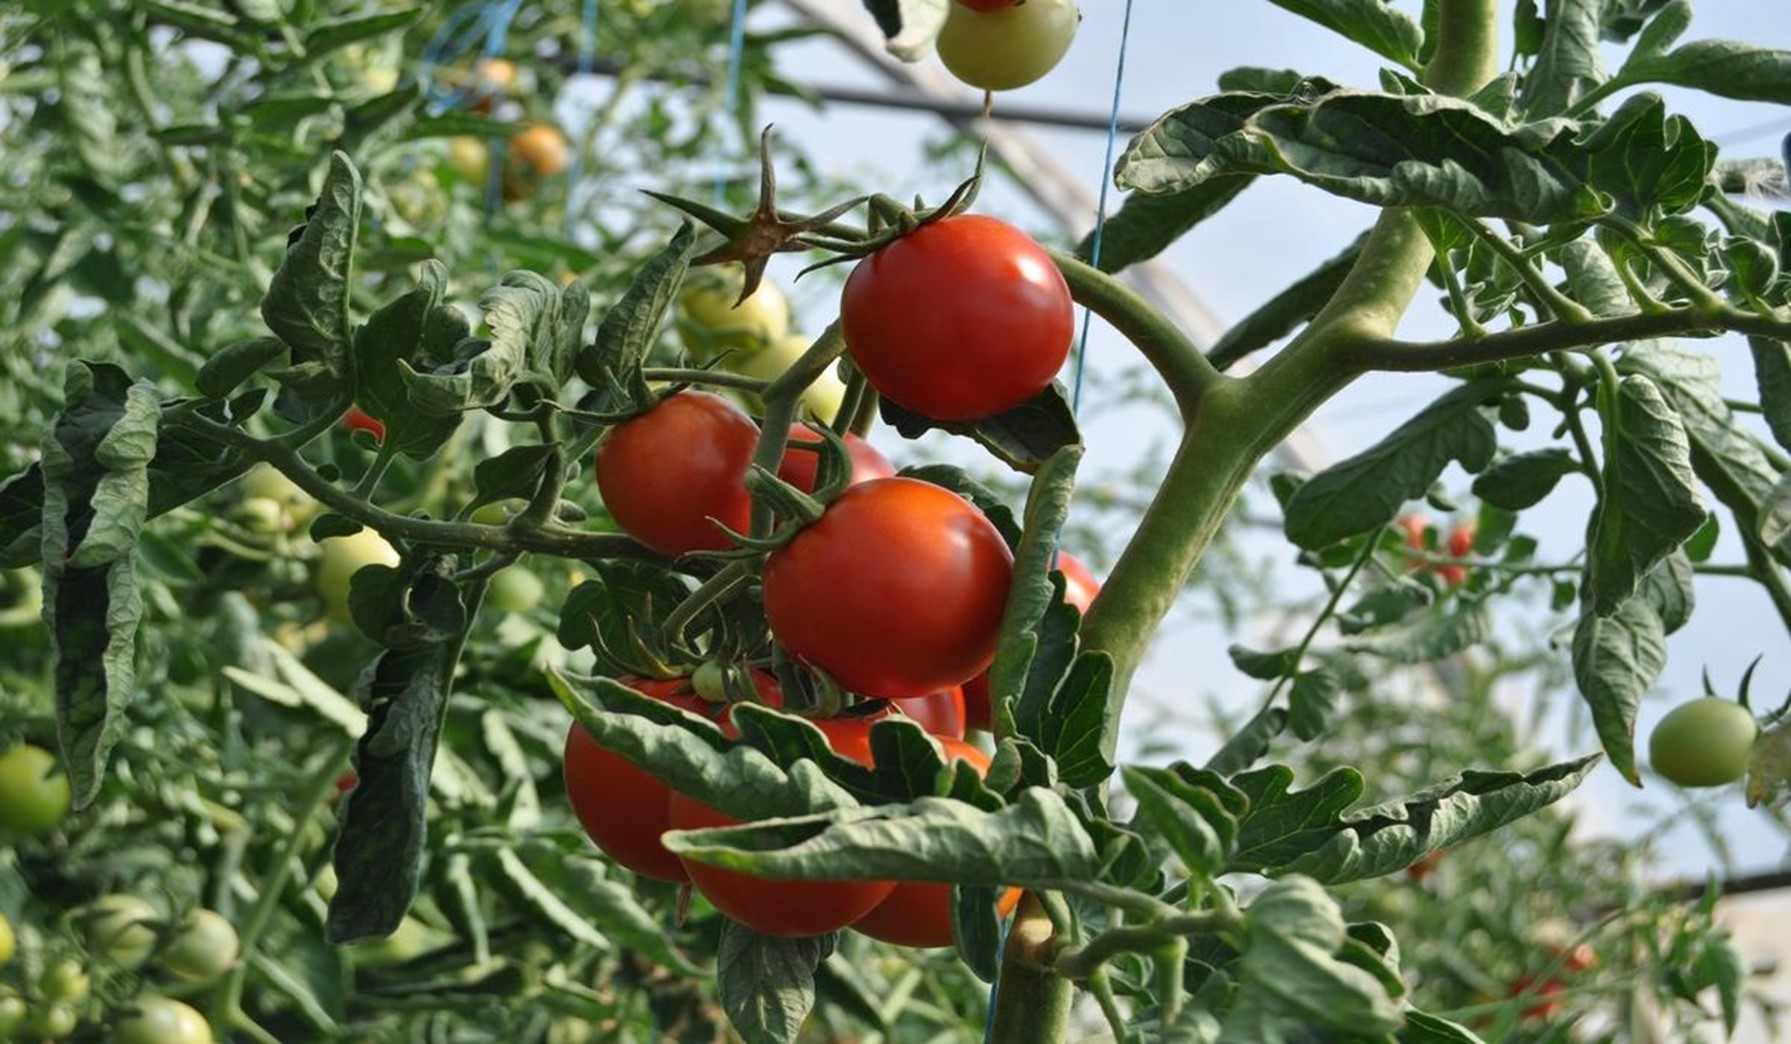
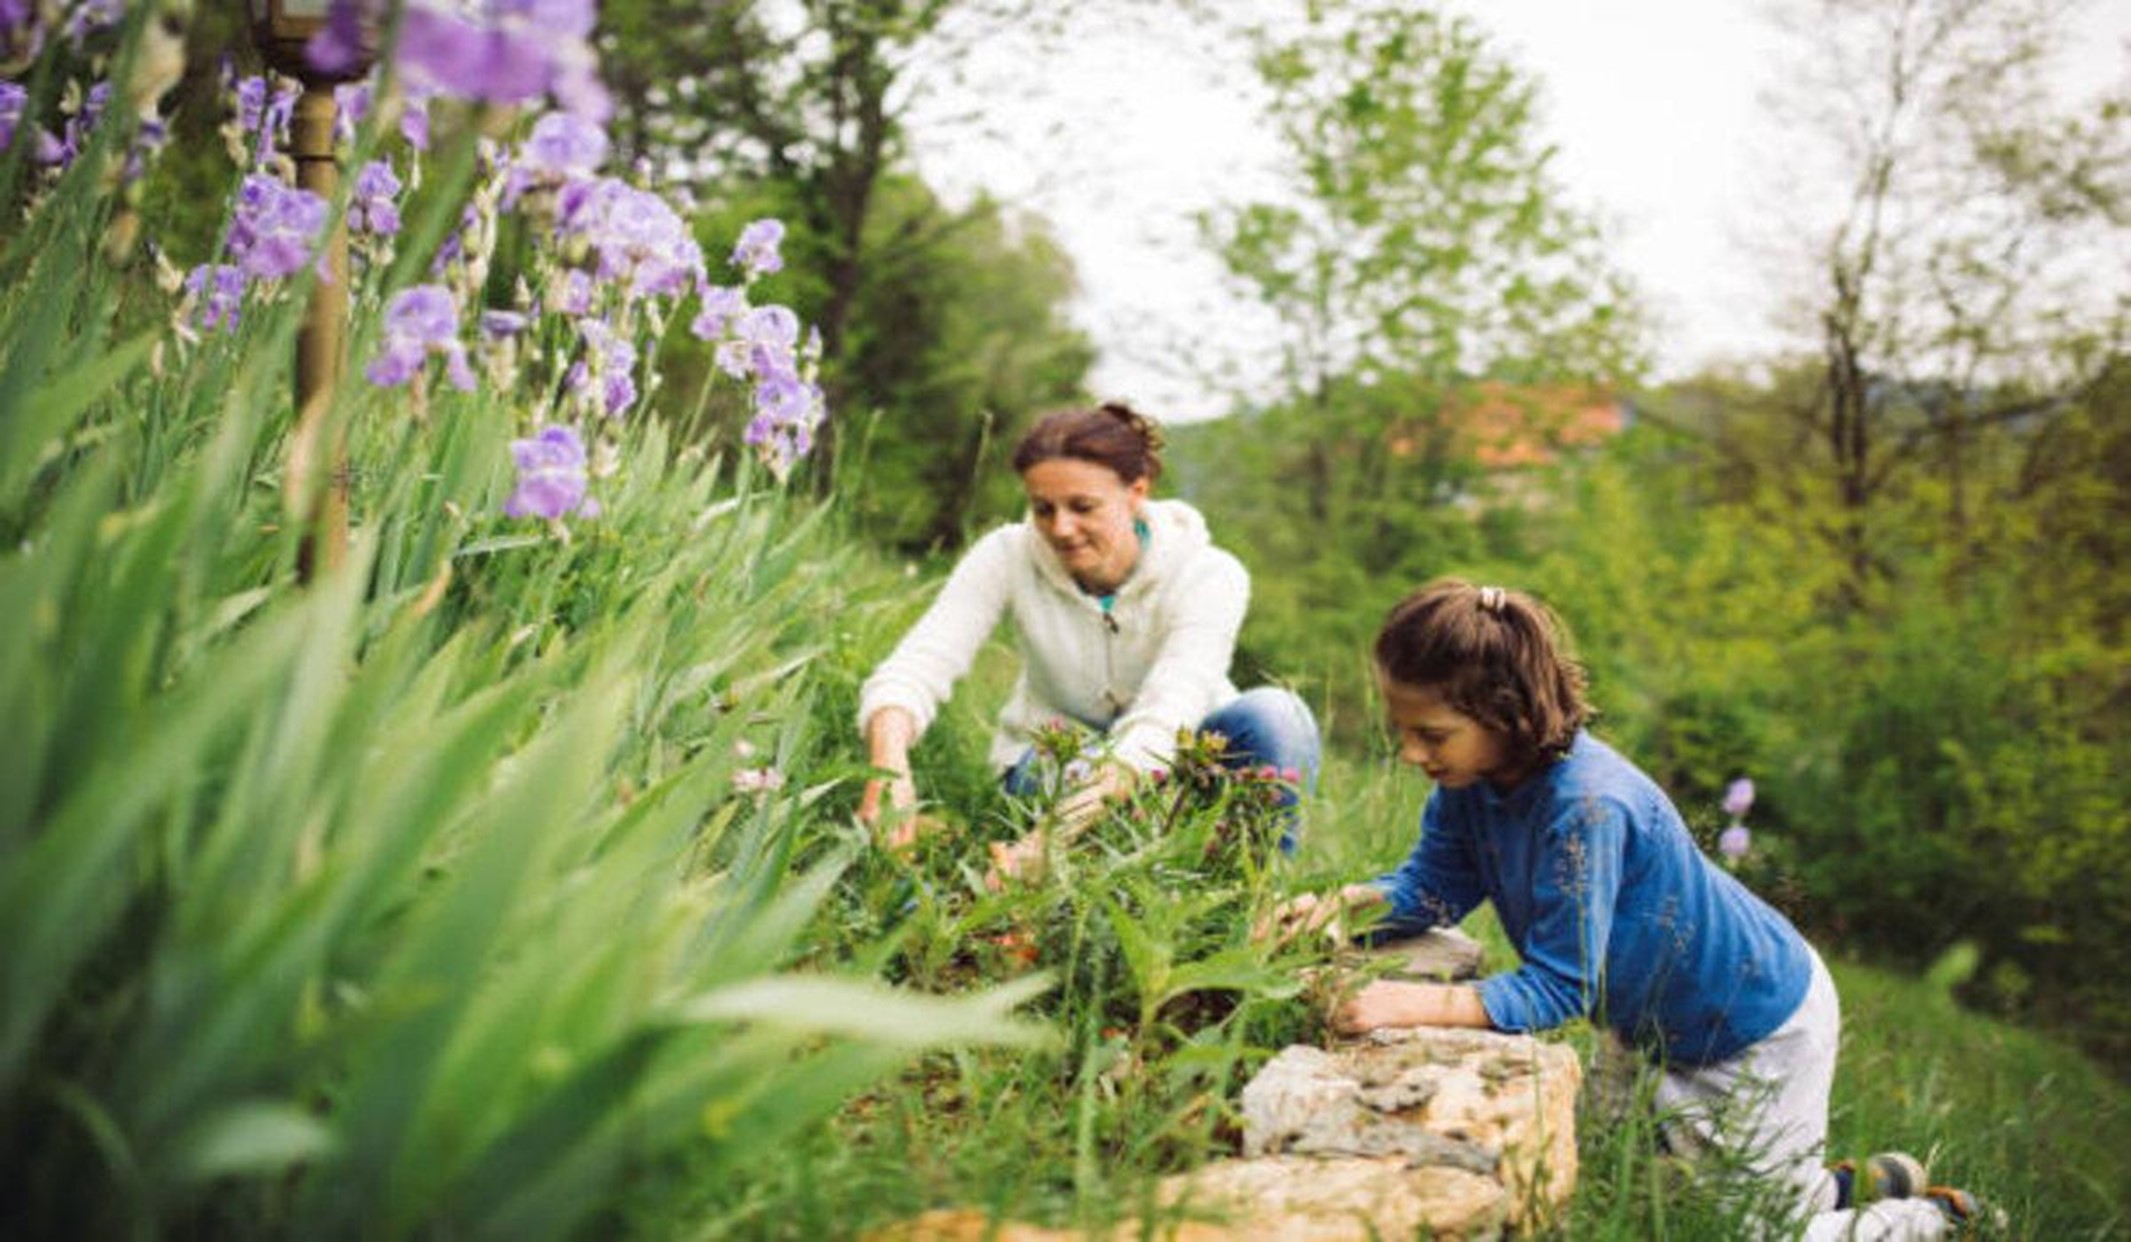
Are you growing a vegetable garden, or do you just want a beautiful outdoor space? If your focus is on edibles, then you should consider vegetables and herbs that your family would be willing to eat.
If you want flowers and a beautiful landscape, then you’ll be looking at colors, fragrances, and blooming periods. You will have to consider choosing between annuals, which die off every season, or perennials, which regrow every spring but have a shorter bloom period. You can also use a combination of both, which is a common practice among gardeners.
Not every plant will thrive or even survive in your region, so you’ll need to consider the growing conditions and climate in your area. Familiarize yourself with the USDA hardiness zones to know which plants are hardy or likely to thrive in your region.
-
Clear Land to Create Space for the Garden
Before you can start planting, you’ll need to create space for your garden. This may involve clearing existing vegetation, rocks, and debris from the area. If you’re starting from scratch, you can use a tiller to break up the soil and create planting beds. Be sure to remove any weeds or grass from the area before you begin planting. If it’s a vast area with thick vegetation, you will be better off hiring a land-clearing service to do the job for you.
-
Test and Improve the Soil
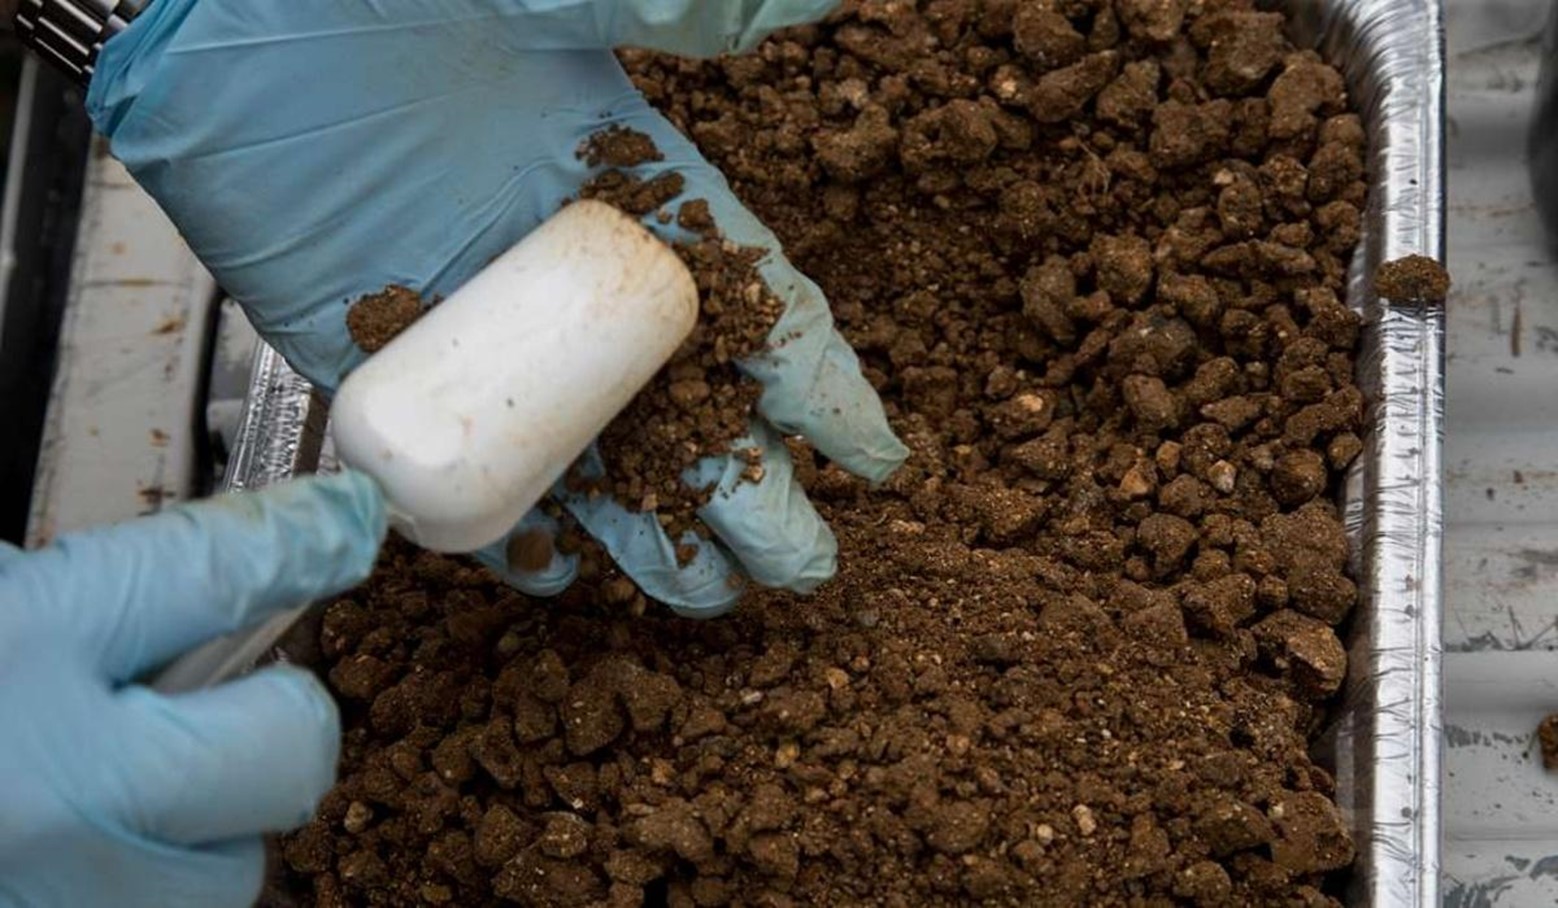
Healthy soil is the foundation of a successful garden. To ensure your soil is healthy and nutrient-rich, you should have it tested for pH levels and nutrient content. The following factors are important for proper soil testing:
Soil Test Timing: The best time to test your soil is in the fall, so you have enough time to amend your soil before planting in the spring. You can also test your soil in the spring if you missed the fall test.
Testing Procedure: To test your soil, you will need to take a soil sample from various parts of your garden. Mix the samples in a bucket and send a representative sample to a laboratory, or use a soil testing kit.
Soil Amendments: After testing, you may need to amend your soil by adding organic matter, such as compost or manure, to improve its texture, nutrient content, and water-holding capacity. Organic matter helps to break up clay soils, improve drainage in sandy soils, and provides nutrients for plant growth.
Fertilizers: If your soil test indicates a nutrient deficiency, you may need to add fertilizer. Choose a fertilizer that matches your plants’ needs, and follow the application instructions carefully. Too much fertilizer can harm your plants and the environment.
Mulching: Adding a layer of mulch on top of the soil helps to retain moisture, suppress weeds, and regulate soil temperature. Organic mulch includes grass clippings, wood chips, or shredded leaves. The mulch breaks down gradually and adds nutrients to the soil.
Consider Raised Beds: If your soil is poor, or you have limited space, consider building raised beds filled with high-quality soil. Raised beds are easier to manage, offer better drainage, and can be customized to suit your plants’ needs.
-
Prepare Planting Beds
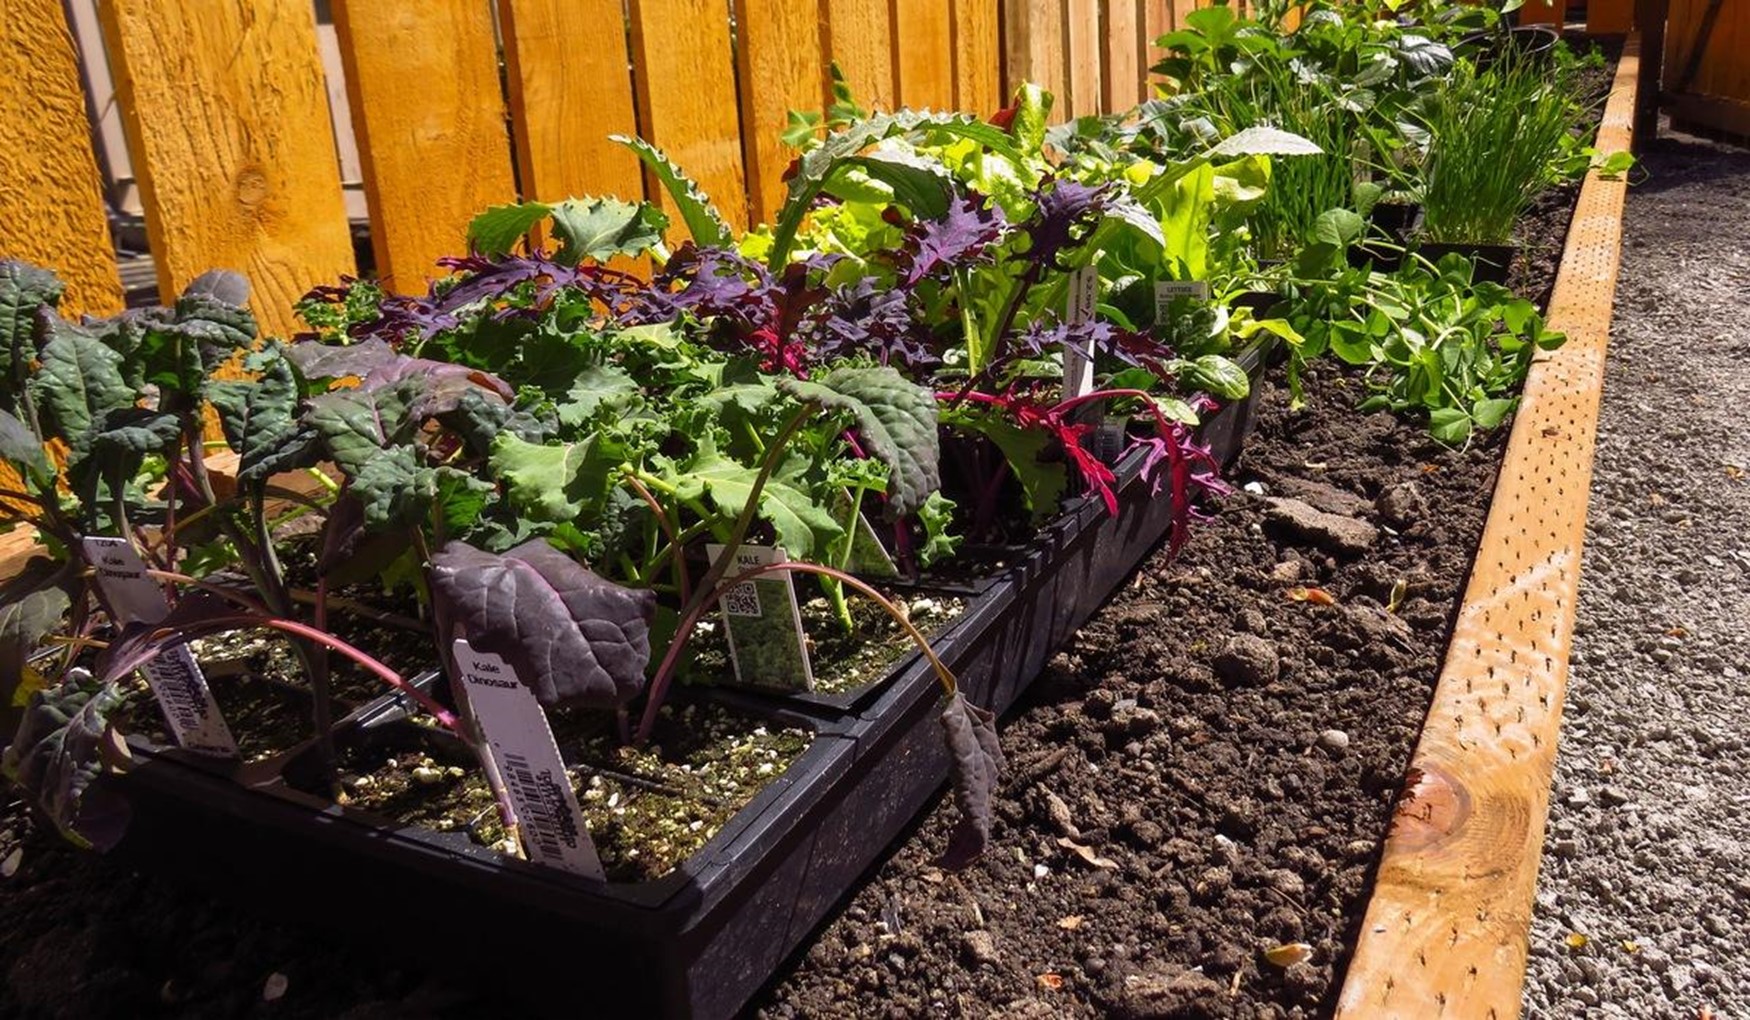
For preparing planting beds, you can choose between raised beds or inground gardening. The names are self explanatory; with raised beds, plants are grown in soil that is higher than ground level. You can create raised beds with frames made from wood.
Raised beds are better for small spaces, but they may need more watering, plus they take time and money to design and maintain, Inground beds demand more physical effort to build and are more exposed, but they require less time and money to build and maintain.
Make sure your planting beds are wide enough to allow for proper plant spacing and are oriented to receive adequate sunlight.
-
Use the Right Planting and Transplanting Techniques
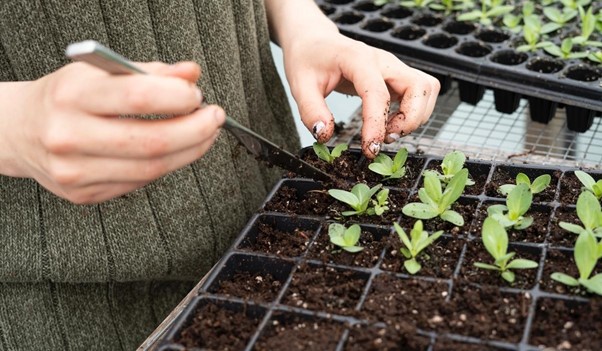
Proper planting and transplanting techniques are essential for ensuring your plants thrive. When planting seeds, make sure to follow the recommended planting depth and spacing for each variety. When transplanting seedlings, be careful not to damage the roots and plant them at the same depth as they were in their original containers.
-
Design Your Garden
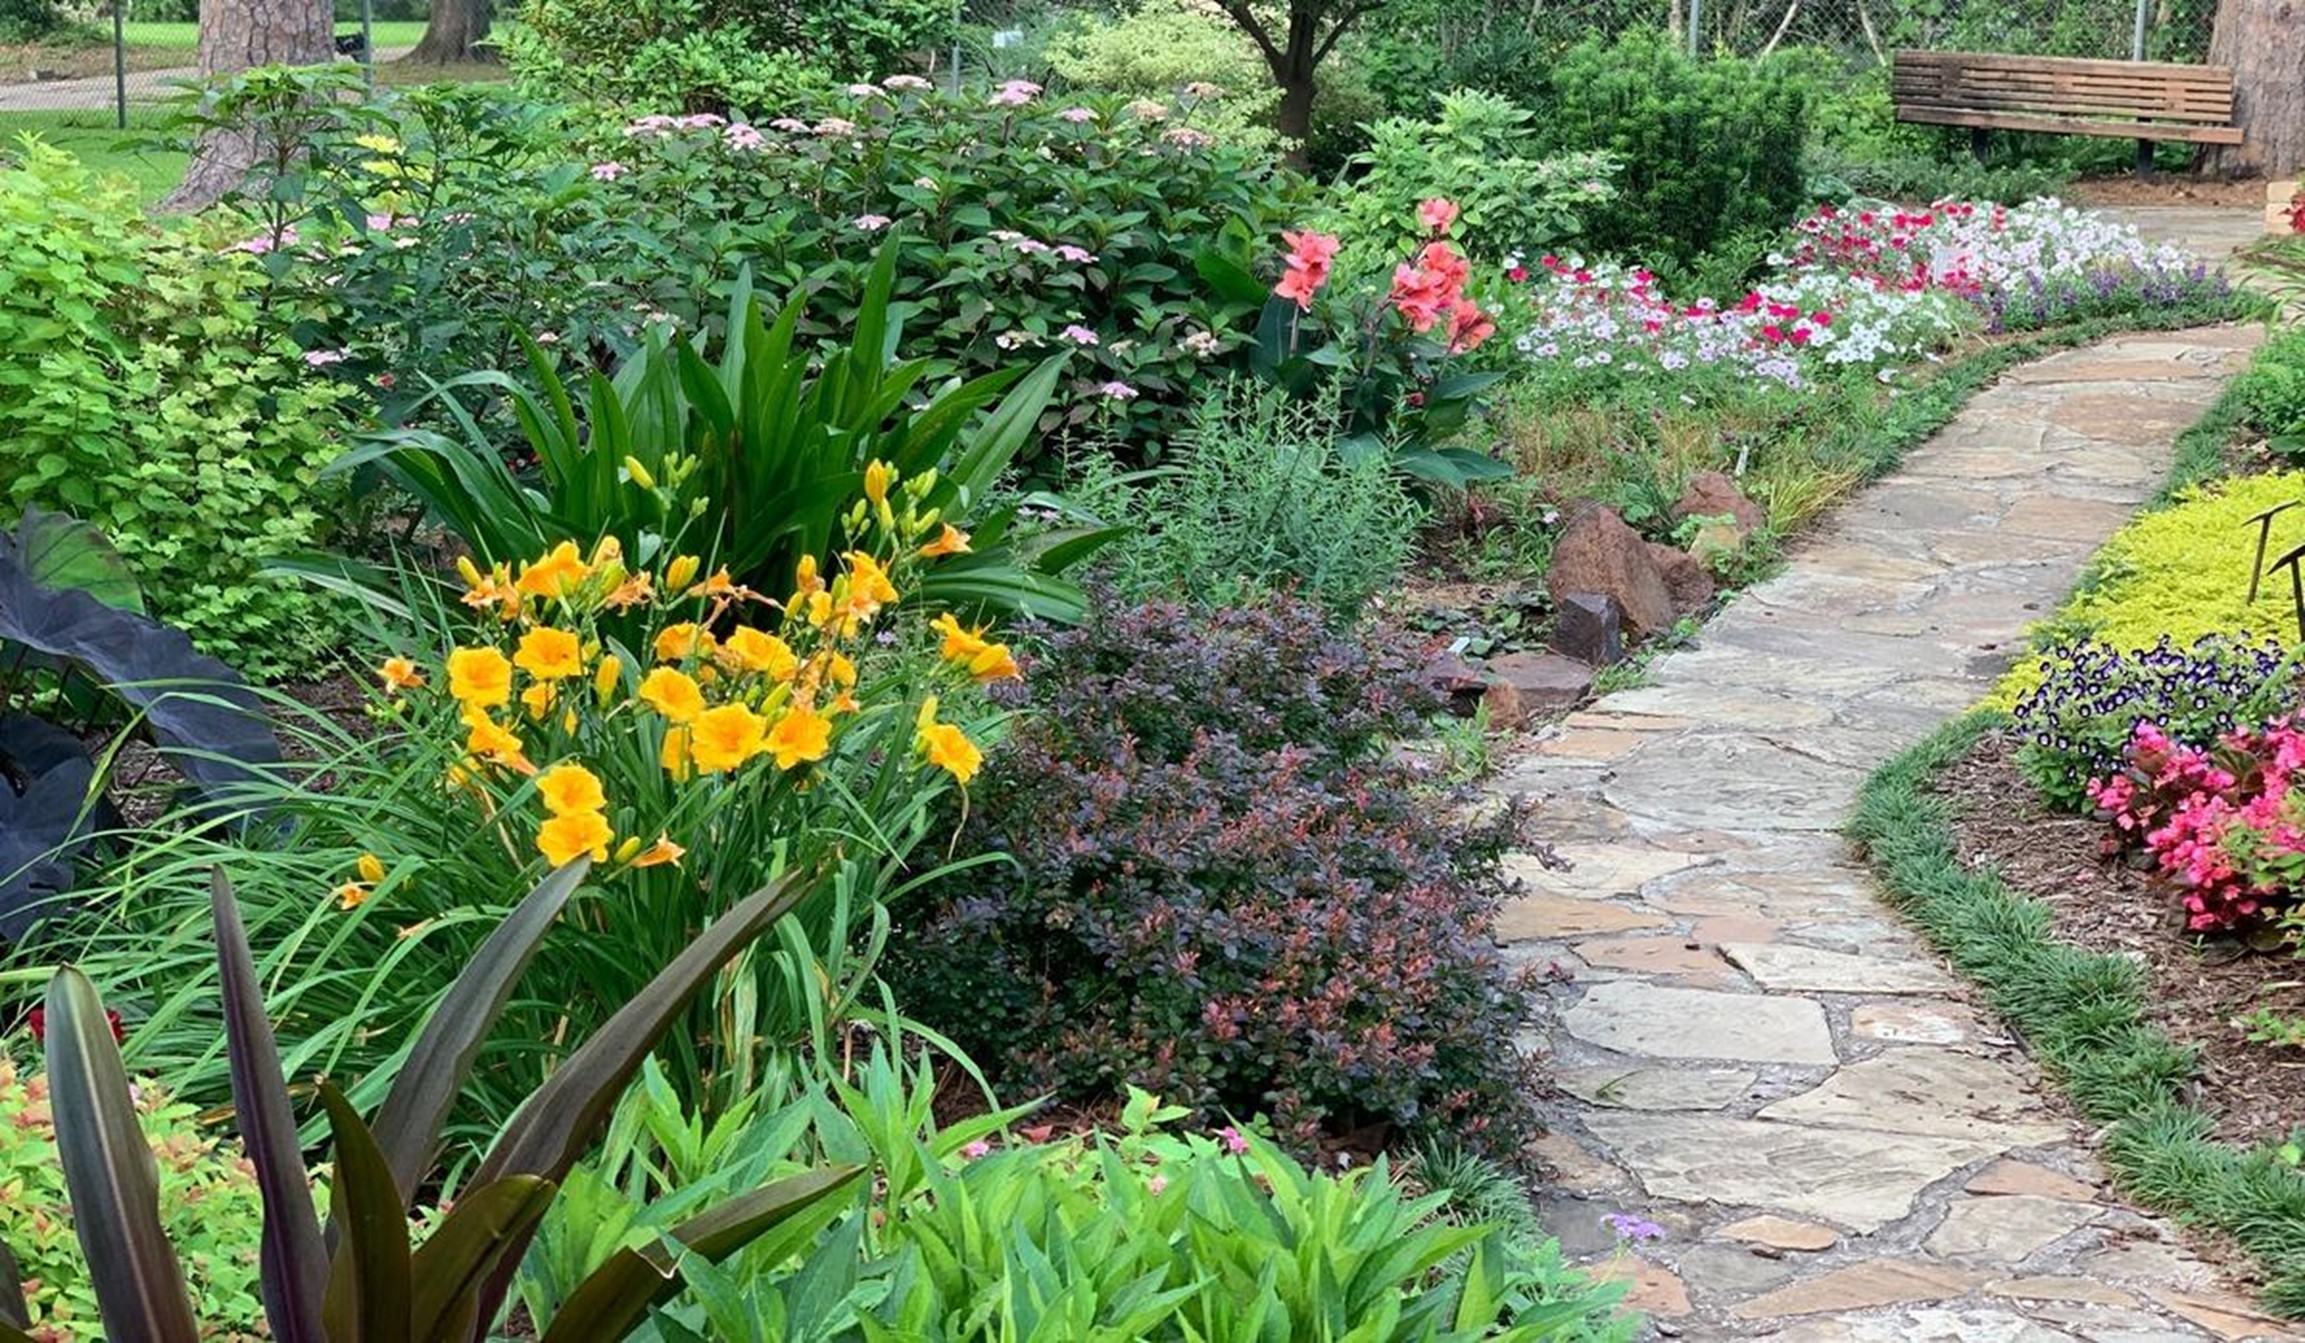
Your garden’s aesthetics should complement your house and surroundings. A garden can serve as an irresistible visual landscape if designed correctly. Here are some tips to help you:
Sketch your garden layout: Draw a rough sketch of your garden to help you visualize how you want to arrange the plants and other garden features.
Incorporate garden structures: Garden structures such as trellises, pergolas, or garden benches can add interest and functionality to your garden design.
Add focal points: Focal points like a water fountain, statue, or bird bath can create a sense of interest and depth in your garden.
Use complementary colors: Choose plants and flowers that complement each other in color, texture, and height to create an aesthetically pleasing garden.
-
Get Your Watering Right

You must have a good watering schedule in place. Here are some tips:
- Water early in the morning or late in the evening when the temperatures are cooler and the water will be absorbed better by the soil.
- Water deeply and less frequently to encourage deep root growth.
- Use drip irrigation or soaker hoses to conserve water.
- Avoid watering during the heat of the day, as it can cause water to evaporate too quickly and potentially burn your plants.
-
Implement Weed Prevention and Control
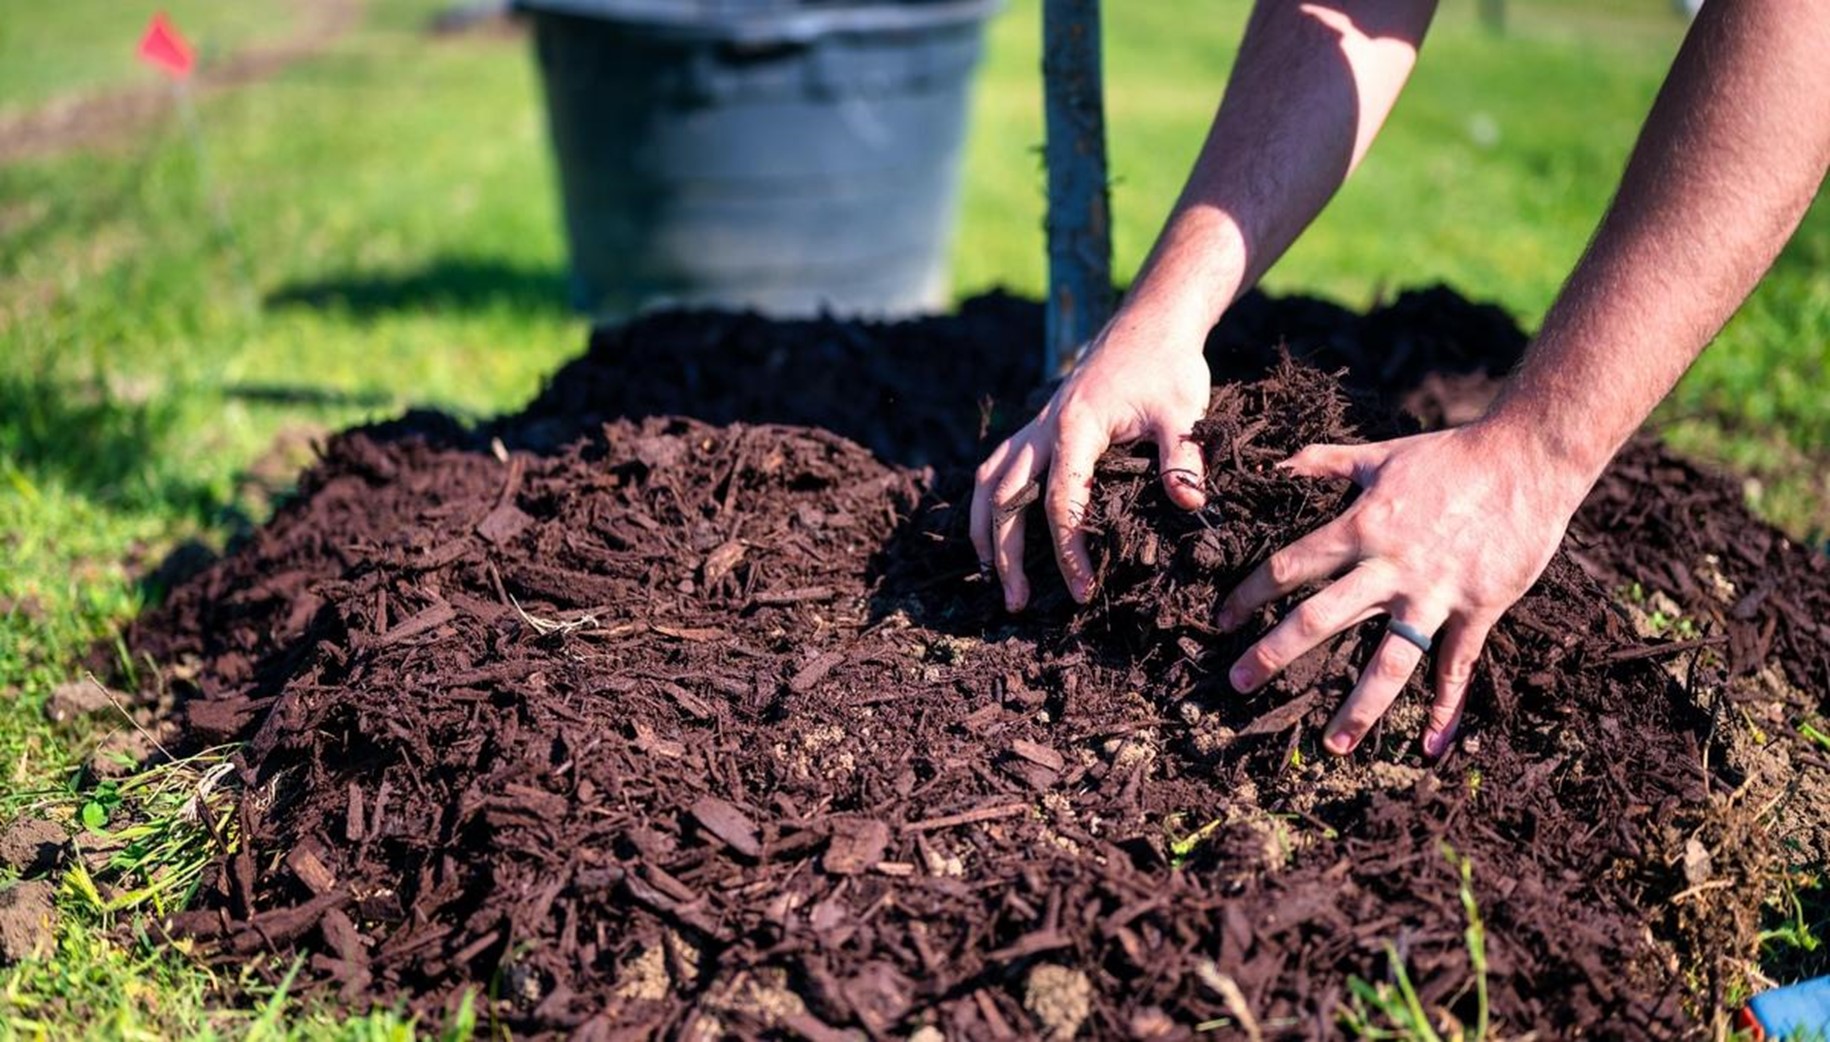
Weeds can easily ruin all your good work, so you need to take measures to prevent and counter them. Mulching is one of the best ways to suppress weed growth. It also helps to retain moisture and prevent soil erosion.
You can choose from a variety of mulches. If you have a lot of perennials, you can use bark mulch, because it lasts long and is, therefore, a good fit for perennials that regrow every season.